参考链接:https://www.ilanni.com/?p=13917
一、概要
由于想将gitlab由单独服务器迁移到docker上,所以需要保证docker gitlab-ce、单独服务器上的gitlab-ce版本一致,所以需要升级gitlab版本。
8.11.5=》8.9.9=》9.0.0=》9.5.9=>10.0.0=>10.8.7=>11.0.0
由于听说跨版本升级会出很多问题,因此本次
脚本:
wget https://mirrors.tuna.tsinghua.edu.cn/gitlab-ce/yum/el7/gitlab-ce-8.9.9-ce.0.el7.x86_64.rpm
wget https://mirrors.tuna.tsinghua.edu.cn/gitlab-ce/yum/el7/gitlab-ce-9.5.0-ce.0.el7.x86_64.rpm
wget https://mirrors.tuna.tsinghua.edu.cn/gitlab-ce/yum/el7/gitlab-ce-9.5.9-ce.0.el7.x86_64.rpm
wget https://mirrors.tuna.tsinghua.edu.cn/gitlab-ce/yum/el7/gitlab-ce-10.0.0-ce.0.el7.x86_64.rpm
wget https://mirrors.tuna.tsinghua.edu.cn/gitlab-ce/yum/el7/gitlab-ce-10.8.7-ce.0.el7.x86_64.rpm
wget https://mirrors.tuna.tsinghua.edu.cn/gitlab-ce/yum/el7/gitlab-ce-11.0.0-ce.0.el7.x86_64.rpm
wget https://mirrors.tuna.tsinghua.edu.cn/gitlab-ce/yum/el7/gitlab-ce-11.3.3-ce.0.el7.x86_64.rpm
gitlab-ctl stop unicorn
gitlab-ctl stop sidekiq
gitlab-ctl stop nginx
yum -y localinstall gitlab-ce-8.9.9-ce.0.el7.x86_64.rpm
gitlab-ctl reconfigure
gitlab-ctl stop unicorn
gitlab-ctl stop sidekiq
gitlab-ctl stop nginx
yum -y localinstall gitlab-ce-9.5.0-ce.0.el7.x86_64.rpm
gitlab-ctl reconfigure
gitlab-ctl stop unicorn
gitlab-ctl stop sidekiq
gitlab-ctl stop nginx
yum -y localinstall gitlab-ce-9.5.9-ce.0.el7.x86_64.rpm
gitlab-ctl reconfigure
gitlab-ctl stop unicorn
gitlab-ctl stop sidekiq
gitlab-ctl stop nginx
yum -y localinstall gitlab-ce-10.0.0-ce.0.el7.x86_64.rpm
gitlab-ctl reconfigure
gitlab-ctl stop unicorn
gitlab-ctl stop sidekiq
gitlab-ctl stop nginx
yum -y localinstall gitlab-ce-10.8.7-ce.0.el7.x86_64.rpm
gitlab-ctl reconfigure
gitlab-ctl stop unicorn
gitlab-ctl stop sidekiq
gitlab-ctl stop nginx
yum -y localinstall gitlab-ce-11.0.0-ce.0.el7.x86_64.rpm
gitlab-ctl reconfigure
gitlab-ctl stop unicorn
gitlab-ctl stop sidekiq
gitlab-ctl stop nginx
yum -y localinstall gitlab-ce-11.3.3-ce.0.el7.x86_64.rpm
gitlab-ctl reconfigure
gitlab-ctl restart
原文:
上一篇文章我们介绍了有关gitlab的备份与恢复,这篇文章我们再来介绍下gitlab的升级方法,以及注意事项。
如果是对于gitlab版本比较关注的小伙伴们,gitlab就是典型的版本帝。gitlab的版本升级比较快,而且功能也越来越齐全。比如最近的一个版本10.6.3就已经开始支持容器编排了。
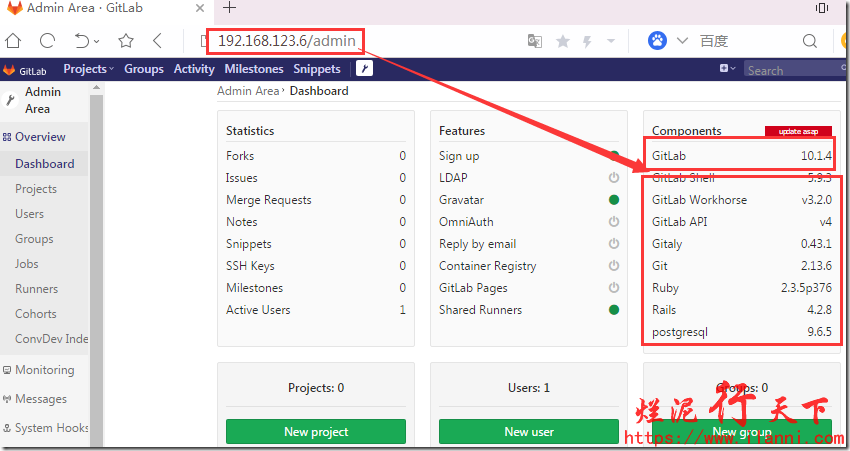
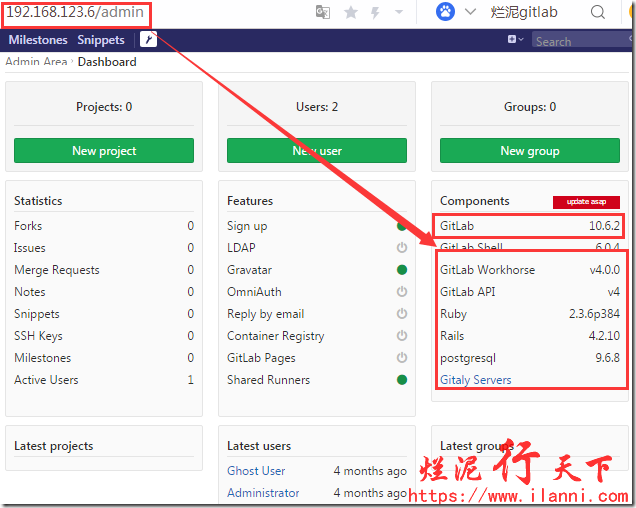
PS:升级之前gitlab版本为10.1.4,升级之后为10.6.2。
一、关闭部分gitlab服务
升级之前,我们首先要关闭gitlab部分服务,如下:
gitlab-ctl stop unicorn
gitlab-ctl stop sidekiq
gitlab-ctl stop nginx
二、下载gitlab10.6.2文件
在升级gitlab到10.6.2版本之前,需要我们先下载10.6.2的rpm文件。如下:
wget https://mirrors.tuna.tsinghua.edu.cn/gitlab-ce/yum/el7/gitlab-ce-10.6.2-ce.0.el7.x86_64.rpm
三、升级gitlab
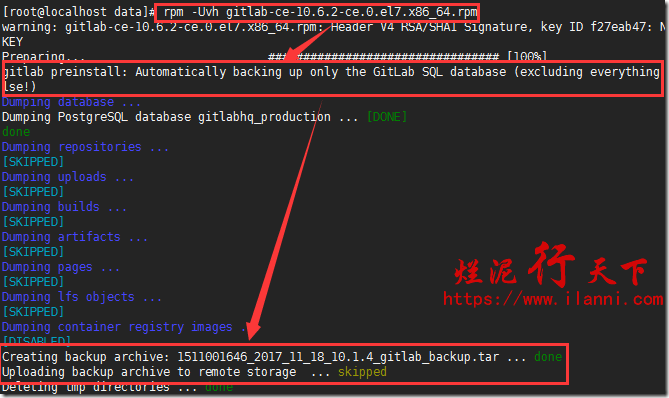
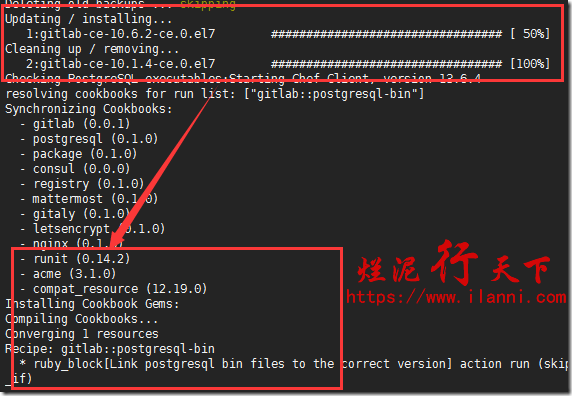
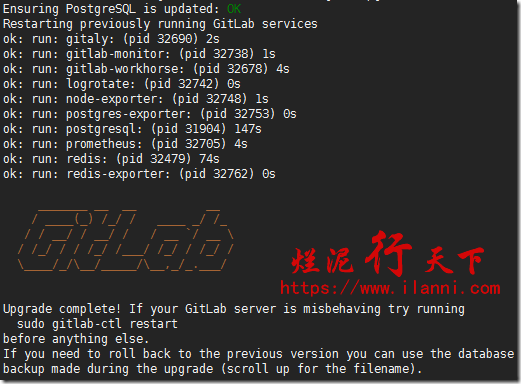
下面我们就来升级gitlab,其实就是直接安装我们刚刚下载的10.6.2的gitlab的rpm文件。如下:
rpm -Uvh gitlab-ce-10.6.2-ce.0.el7.x86_64.rpm
上述命令中的-U:表示升级或安装软件。
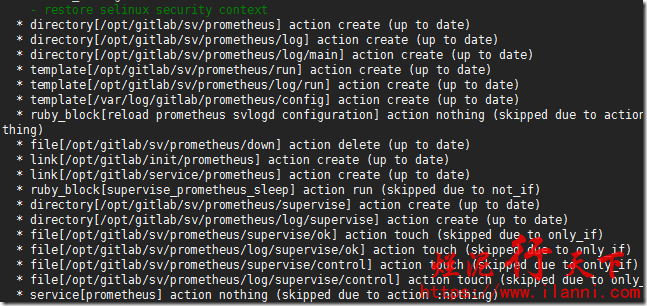
以上升级完毕后,我们还需要做以下两件事情。
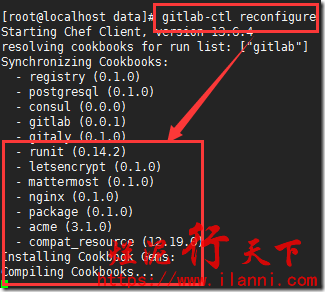
重新配置gitlab,使用如下命令:
gitlab-ctl reconfigure
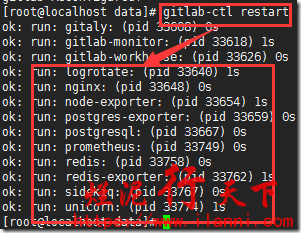
重启gitlab服务,使用如下命令:
gitlab-ctl restart
四、验证升级后的gitlab
gitlab升级完毕后,我们现在来验证升级后的功能,如下:
注意:gitlab升级完毕后,如果遇到部分功能不能使用的话。建议去gitlab的官网进行查看相应的issue。
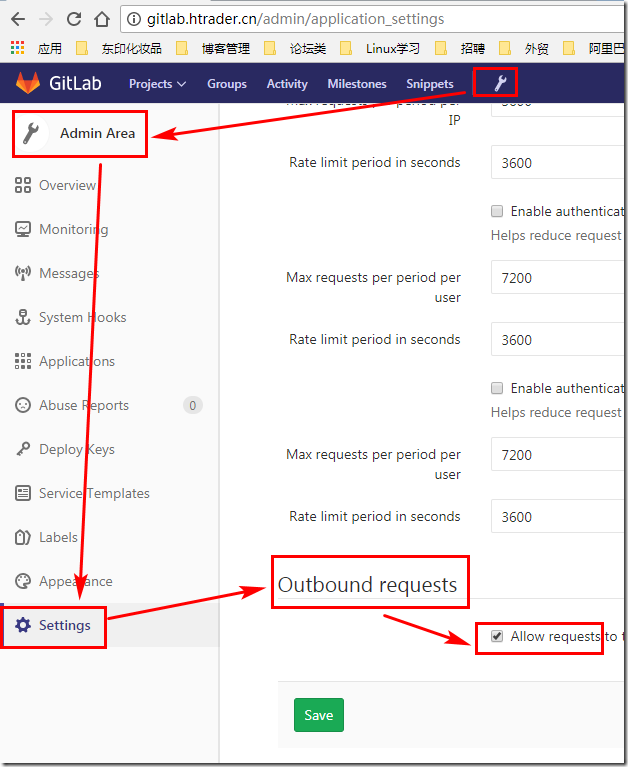
比如:gitlab 10.1.4升级到gitlab 10.6.2版本后,会出现webhooks不生效的情况。就可以通过这种方法解决,如下:
https://gitlab.com/gitlab-org/gitlab-ce/issues/45334
https://gitlab.com/gitlab-org/omnibus-gitlab/issues/3307#note_64245578
PS:gitlab的版本升级,强烈不建议跨大版本升级。比如你现在的版本是9.0.0版本的话,不能直接升级到10.0.0版本,而是要先升级到9.5.9版本,再由9.5.9版本升级到10.0.0版本。
到此有关gitlab的版本升级就介绍完毕。
